
How to Dry Flowers in Silica Gel for Resin Crafts
- Preserving Nature Crafts

- Apr 10, 2023
- 3 min read
Updated: May 23, 2023

Preserving flowers is a great way to hold onto memories of special occasions, such as weddings, anniversaries, or birthdays. There are many ways to preserve flowers, but one of the most popular methods is to use silica gel. Silica gel is a desiccant that absorbs moisture, making it an ideal material for drying flowers. In this blog, we will go through step-by-step instructions on how to preserve flowers in silica gel.

Step 1: Choose the right flowers:
The first step to preserving flowers in silica gel is to choose the right flowers. Select flowers that are fully bloomed and in good condition. If the flowers are not fully bloomed or start to wilt, you can still use them, but you need to place them within the silica a certain way that helps shape them the way you want.
Step 2: Choose the right silica gel
There are many types of silica gel available in the market. I prefer to use a silica get that is white or translucent with little coloured beads throughout it which serves to indicate the moisture level. You can purchase silica gel from craft stores or online.
Step 3 Prepare the flowers:
Trim the stems of the flowers to the desired length. Remove any excess leaves, but leave some foliage attached to the stems for a natural look. If you are using flowers that are not fully bloomed or are starting to wilt, gently arrange them in the shape you desire.

Step 4: Prepare the silica gel
Pour enough silica gel into a container to cover the bottom with a layer that is about 1 inch deep. Use a container with a tight-fitting lid, such as a plastic storage container. Spread the silica gel out evenly.
Step 5: Place the flowers in the silica gel
Gently place the flowers on top of the layer of silica gel, making sure that they are not touching each other or the sides of the container. Use a spoon to carefully sprinkle more silica gel over the flowers, making sure that they are completely covered. Continue to add silica gel until the flowers are completely covered.
Step 6: Seal the container
Seal the container with a tight-fitting lid. Make sure that the lid is secure so that no air can get in.
Step 7: Wait
Leave the container undisturbed for at least 3-4 days. The flowers will dry out completely during this time. If you are using flowers that are not fully bloomed or are starting to wilt, you may need to leave them in the silica gel for a little longer to achieve the desired shape.
Step 8: Remove the flowers from the silica gel
After the flowers have dried completely, carefully remove them from the silica gel. They are a little crispy and fragile. Use a soft-bristled brush to remove any excess silica gel that may be stuck to the flowers.

Step 9: Display the preserved flowers
The preserved flowers can be displayed in a vase or used in craft projects; like these flowers that were added to a custom beach themed river table to represent the client's daughter's birth flowers.They will last for a long time if kept away from moisture and direct sunlight.
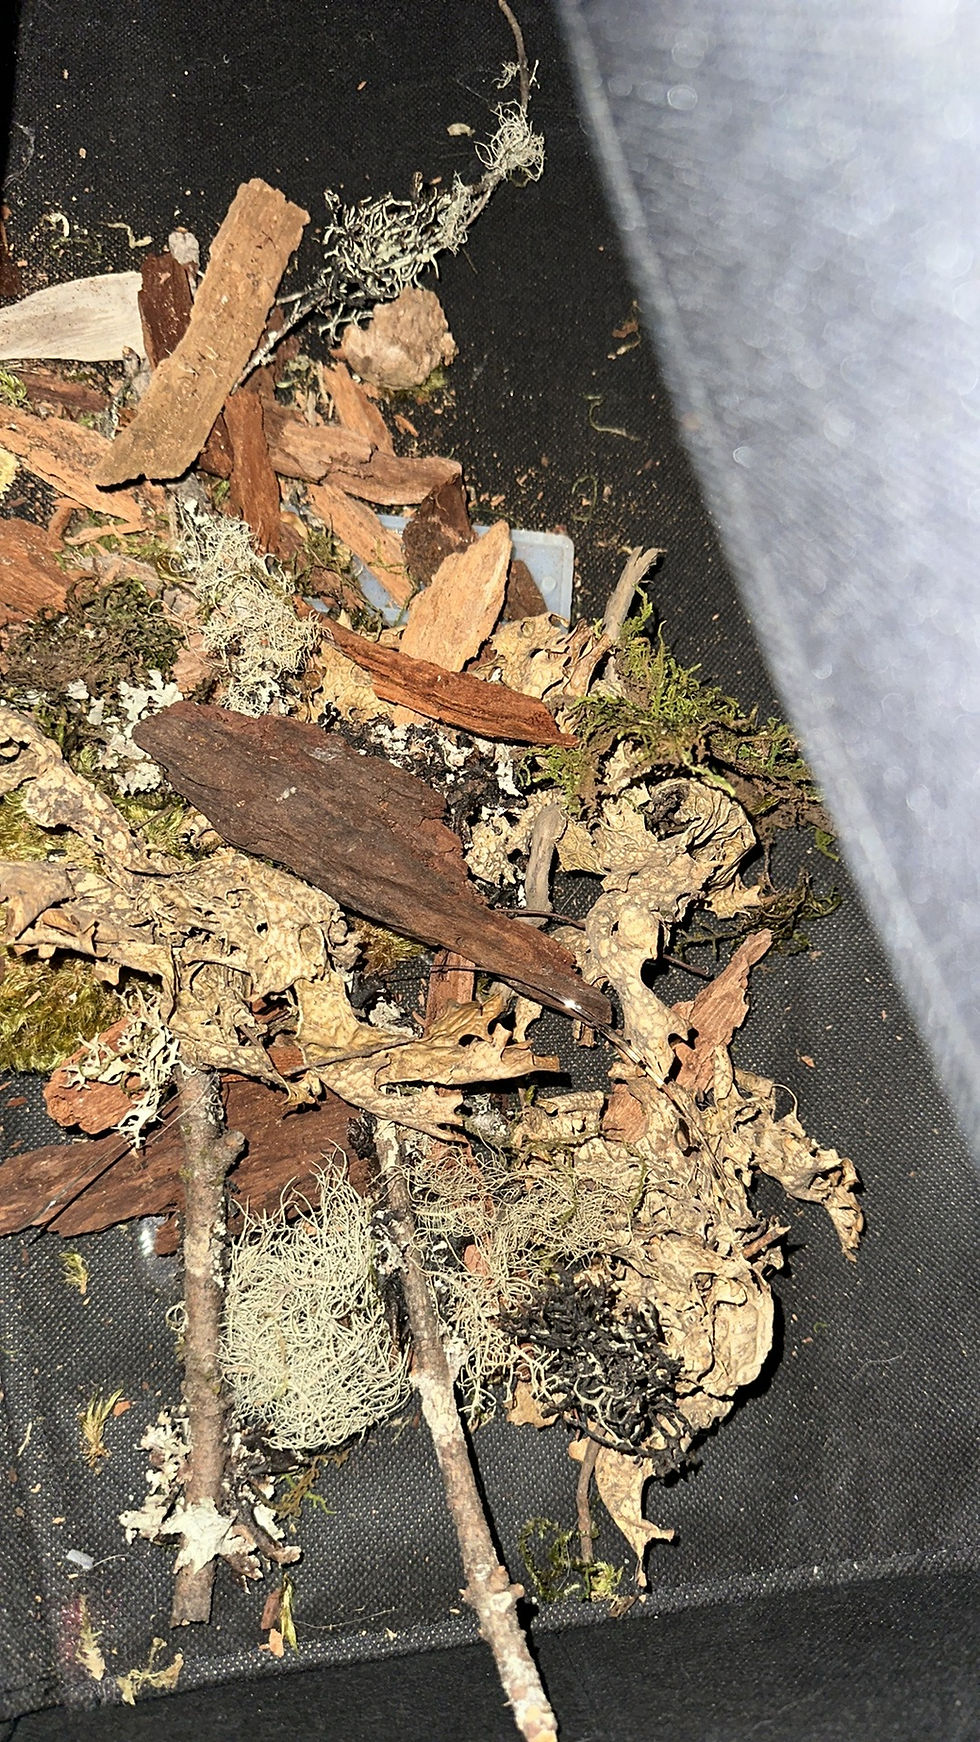
I have preserved daisies, sunflowers, gladiolas, morning glory, mushrooms, mosses, daffodils, cherry blossoms, and even some seaweeds in silica gel. Remember that the bigger the flower and the more moisture it contains, the longer it will need to sit in the silica gel. I am currently working on preserving succulents in silica gel for which I hope to create a beautiful resin river table with. Stay tuned...


Comments