
How to Make Epoxy Resin Coasters: A Step-by-Step Guide
- Preserving Nature Crafts
- Jul 30, 2023
- 2 min read
Updated: Nov 9, 2023

Epoxy resin coasters are a fantastic way to add a personal touch to your home decor. These beautiful and functional pieces can be easily crafted with a few materials and a little creativity. In this guide, we'll take you through the step-by-step process of making epoxy resin coasters. Let's get started!
Materials You'll Need:
Before we begin, gather the following materials: epoxy resin kit (resin and hardener), silicone coaster molds, mixing cups, stir sticks, pigments or alcohol ink for coloration, heat gun or torch for removing air bubbles, protective gloves, apron, and a craft mat or wax paper for a clean work surface.
Preparing the Work Area:
Find a well-ventilated area, preferably near a window or with a fan, to ensure good airflow during the crafting process. Cover your work surface with a craft mat or wax paper to protect it from spills and stains.
How to Make Resin Coasters - Mixing the Epoxy Resin:
Follow the instructions provided with your epoxy resin kit for accurate measurements. In a clean mixing cup, combine equal parts of resin and hardener. Stir the mixture gently but thoroughly to avoid introducing air bubbles. Check out our blog How to Mix Resin: A Comprehensive Guide for Flawless Results for more details.
Adding Colour to the Resin:
To add a splash of colour to your coasters, incorporate pigments or alcohol ink into the epoxy resin. Start with a few drops and adjust the amount until you achieve your desired colour. Stir well to evenly distribute the colour.
Pouring the Resin:
Carefully pour the coloured resin into the silicone coaster molds, filling them up to about three-quarters full. Take your time to prevent spills and ensure an even pour.
Removing Air Bubbles:
Use a heat gun or torch to remove any air bubbles that may have formed during pouring. Pass the heat tool over the surface of the resin, and the bubbles will rise and disappear.

Adding Decorative Elements (Optional):
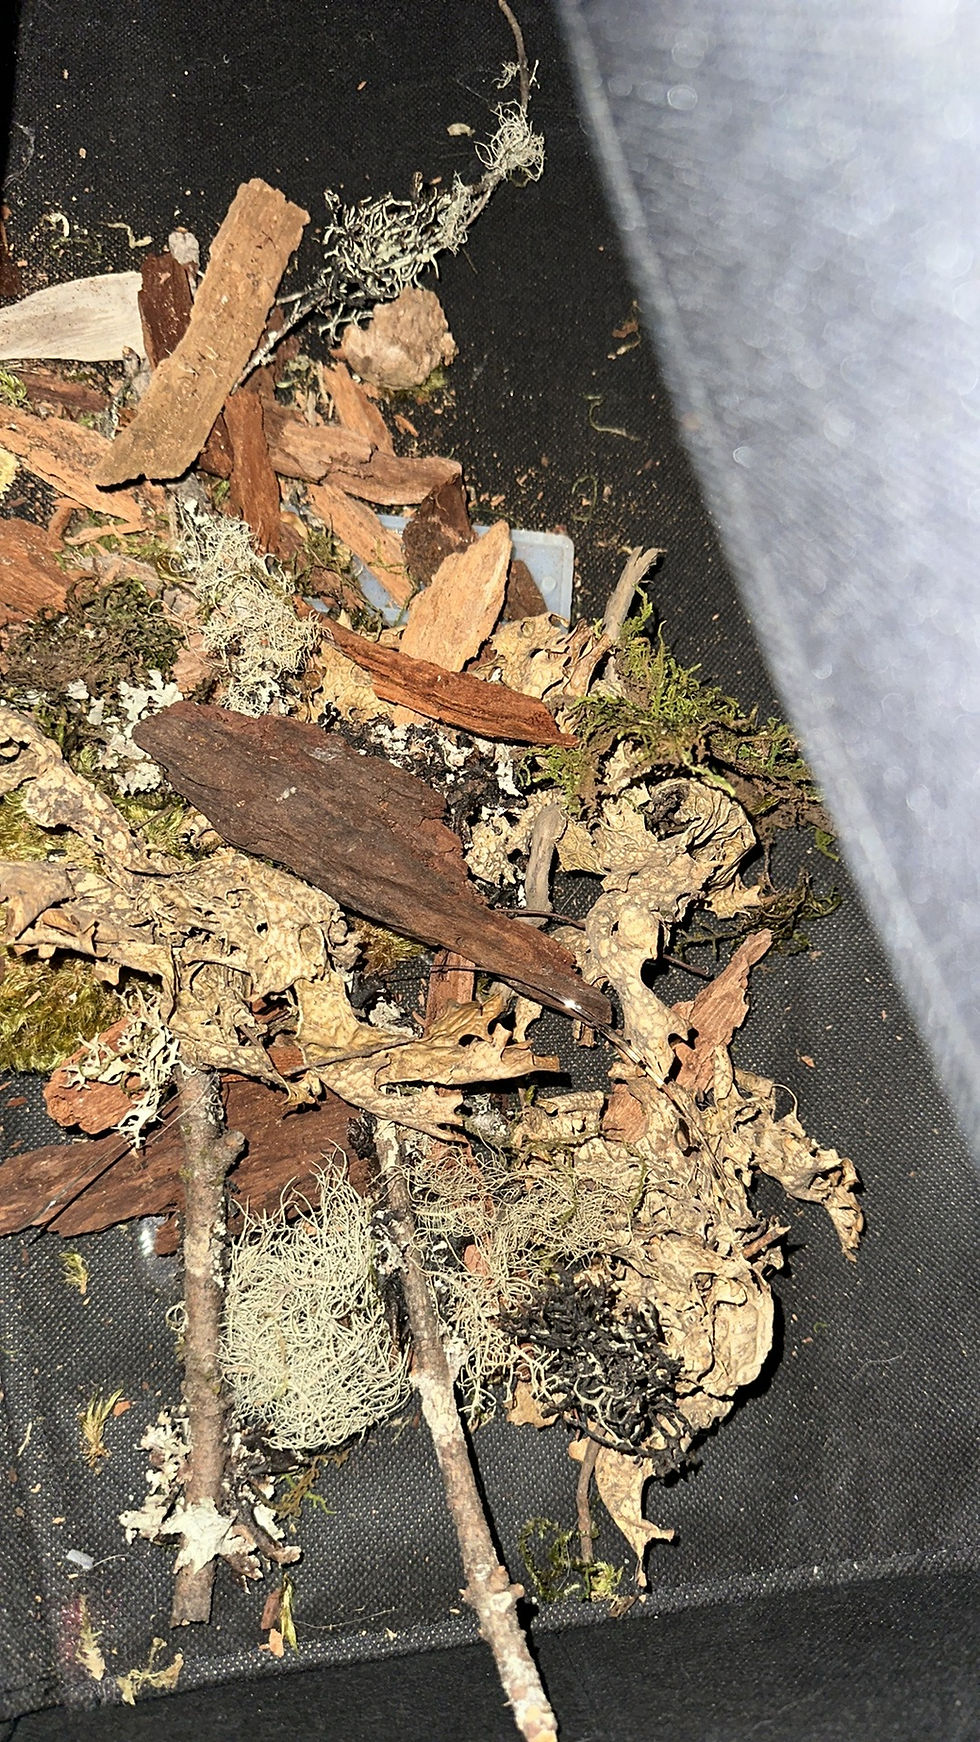
For a creative touch, consider adding decorative elements to your resin coasters. You can embed small dried flowers, colourful beads, or glitter into the resin. Place the decorations on top of the poured resin and gently press them down with a stir stick.
Allowing the Resin to Cure:
Follow the manufacturer's instructions regarding the curing time. Typically, epoxy resin coasters take 24 to 48 hours to fully cure. During this time, keep the coasters in a dust-free and level area.

Demolding and Final Touches:
Once the coasters have completely cured, carefully remove them from the molds. Inspect the edges and sand down any rough areas for a polished finish. Clean the coasters with a soft cloth to remove any remaining dust or debris.

Congratulations! You've successfully created your own set of epoxy resin coasters. These functional pieces of art will undoubtedly impress your guests and brighten up your home decor. Experiment with different colours and designs to craft unique coasters that showcase your creativity and style. Enjoy your new creations!


Comments