
Make Your Own Resin Jewelry: A Step-by-Step Guide to DIY Epoxy Resin Jewelry
- Preserving Nature Crafts
- May 27, 2023
- 3 min read
Updated: Jun 21, 2023

If you're looking to explore your creativity and make unique, personalized jewelry, epoxy resin jewelry is an excellent choice. With epoxy resin, you can encapsulate dried flowers, colourful pigments, and other nature-inspired elements to create stunning and one-of-a-kind accessories. In this guide, we'll walk you through the process of making your own resin jewelry, using small jewelry molds, round hoops, epoxy resin, dried flowers, colour pigments, and more. Let's dive in!
What You'll Need to Create Your Own Resin Jewelry:
Epoxy resin
Small jewelry molds
Protective equipment (chemical gloves, mask, plastic covering to protect your floors, etc.)
Mixing cups and stirring sticks (preferably silicone)
Torch and/or heat gun
Colour pigments or resin dyes (optional)
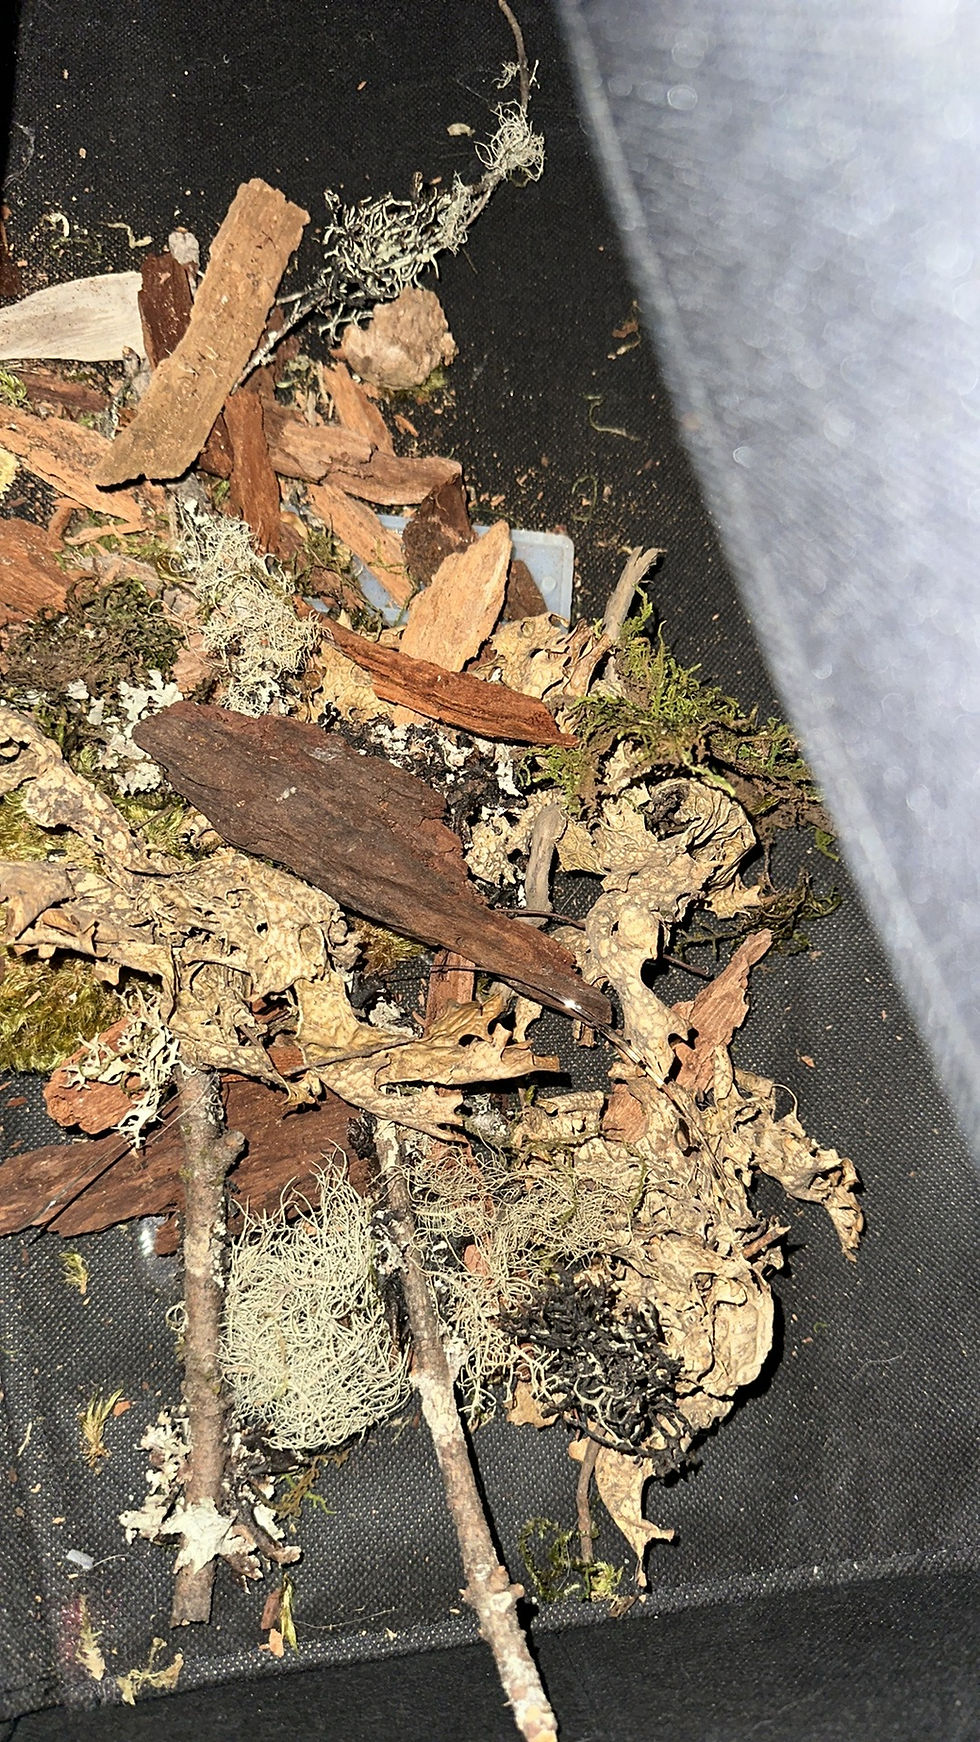
Dried flowers or other nature pieces
Orbital sander or sandpaper (optional)
Round hoops or jump rings
Jewelry findings (e.g., earring hooks, necklace chains)
Prepare your Workspace
Set up a clean and well-ventilated area for your resin jewelry-making project. Cover your work surface with a plastic sheet or parchment paper to protect it from any spills or drips. We prefer to use puppy pee pads as they are more absorbent and are less likely to have epoxy resin spill over onto your floors. We learned this the hard way!
Prepare the Resin
Follow the instructions provided with your epoxy resin kit to mix the resin and hardener in the recommended ratio. You can also read our blog on how to mix epoxy resin for more details. Also make sure to choose the right epoxy resin for making your own resin jewelry. Stir gently but thoroughly to ensure the components are well combined. If desired, add colour pigments or resin dyes to achieve the desired hue, though we suggest doing this after the first layer only so you can really showcase what you have encased within the resin.
Fill the Molds
Pour the mixed resin into your small jewelry molds, filling them up to about 80% capacity. This allows room for adding your nature pieces and prevents overflow during curing.
Add Nature Pieces to Your Resin Jewelry

Carefully arrange dried flowers, leaves, or other nature pieces onto the resin-filled molds. Press them gently into the resin to ensure they are fully immersed and don't float to the surface. Get creative with your designs and experiment with different combinations of elements.
Remove Air Bubbles
To eliminate air bubbles trapped in the resin, gently run a heat gun or a small torch over the surface (if safe and applicable). This will help release any bubbles and give your jewelry a smooth finish. Try not to get the edges of the silicone molds with the torch as it could make your resin stick to the mold when you are de-molding; causing the mold to rip and/or tear.
Cure the Resin
Allow the resin to cure according to the manufacturer's instructions. This typically involves leaving the molds undisturbed for 24 to 48 hours. Ensure the curing process takes place in a dust-free environment to prevent particles from settling on the resin surface.
De-mold and Sand (Optional)

Once the resin has fully cured, carefully remove the jewelry pieces from the molds. If desired, use an orbital sander or sandpaper to smooth any rough edges or imperfections on the surface of the jewelry. These pendants need to be cut and sanded.
Attach Findings
Attach round hoops or jump rings to your resin pieces using jewelry pliers. Depending on the design, you can turn them into earrings, pendants, or charms. Add earring hooks or necklace chains to complete your resin jewelry.
Enjoy and Share
Your DIY epoxy resin jewelry is now ready to wear or gift! Flaunt your unique creations and let your creativity inspire others. You can also consider exploring resin jewelry kits or experimenting with different techniques and materials to further expand your skills.
Creating epoxy resin jewelry allows you to combine nature's beauty with your artistic flair. By following these step-by-step instructions, you can make your own resin jewelry using small molds, dried flowers, colour pigments, and epoxy resin. Embrace the DIY spirit, explore various designs, and enjoy the process of crafting stunning resin jewelry pieces that reflect your personal style.


Comments